
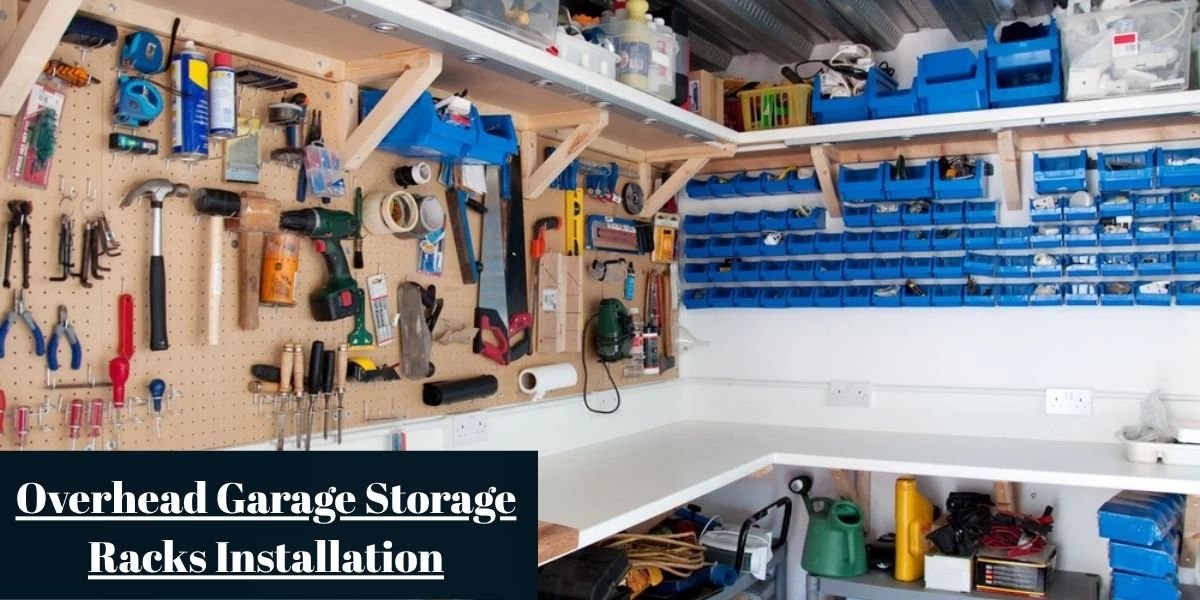
A typical American garage can feature plenty of unused cubic volume hanging right above the car while the concrete floor remains buried under Christmas decoration bins, camping gear, suitcases, sports equipment, and miscellaneous clutter. An overhead garage storage rack converts that dead ceiling airspace into a dedicated, heavy-duty platform. However, bolting a steel grid overhead is never simply a matter of finding an open patch of drywall and driving in a few screws.
The rack platform itself is only one component of a successful project. The ceiling structural framing, rack dimensions, garage-door travel clearance, load distribution calculations, and structural anchoring hardware dictate whether the finished storage system remains safely suspended or turns into a structural hazard. Industry guidelines from groups like InterNACHI structural inspection standards highlight that residential ceiling components require careful verification before carrying permanent suspension loads.
What an Overhead Garage Storage Rack Actually Adds to a Garage
Ceiling racks fundamentally change how a residential garage functions by shifting infrequently used bulk off the floor and out of the walking path.
Installing a standard 4×8 overhead rack creates approximately 32 square feet of usable platform area, effectively reclaiming valuable square footage without reducing parking space. Overhead storage works particularly well for seasonal or bulky items that do not require daily access, shielding belongings from minor floor-level moisture, spills, and chronic garage clutter. According to operational guides from regional providers like Tampa Garage Solutions, maximizing vertical space keeps walkways clear and prevents equipment accumulation from taking over vehicle paths.
Consider a typical suburban family parking two vehicles in a standard two-car garage. They can utilize an overhead rack to store holiday lights, artificial trees, camping bins, extra luggage, and folding lawn chairs, while keeping hand tools, cleaning supplies, and everyday safety gear at waist or chest level on wall shelves. This layout preserves vehicle door clearance and keeps everyday essentials within comfortable reach.
Before You Buy a Rack, Measure the Garage
Purchasing an overhead rack without taking precise dimensional measurements of the garage is a costly mistake.
Ceiling height
The vertical distance from the floor to the ceiling joists determines the maximum rack mounting height, the clearance remaining beneath the platform, and overall accessibility using a ladder. Most overhead installations require a minimum ceiling height of 8 to 9 feet to function safely without cramping the space.
Rack footprint
Standard configurations typically include 4×4, 4×6, and 4×8 feet. A larger rack is not automatically better if it blocks lighting or interferes with architectural obstructions.
Garage-door clearance
This is a critical failure point in many DIY installations. Homeowners must check the path of the garage door panels, horizontal track angles, extension or torsion springs, support brackets, emergency release cord, opener rail, and ceiling-mounted motor housing. The rack must maintain safe operational separation from every moving door component.
Vehicle clearance
Measuring an empty garage is insufficient. Installers must account for parked vehicles, including tall SUVs, lifted trucks, roof-mounted cargo boxes, and rear hatches that swing or lift upward. A rack positioned too low can easily crush a vehicle roof or shatter a rear windshield when a trunk opens.
Lighting and other ceiling equipment
Layout plans must account for ceiling-mounted light fixtures, electrical conduit runs, garage door opener units, attic access panels, security cameras, fire sprinkler heads, and HVAC ventilation ducting.
Choosing the Right Overhead Rack
Selecting the correct hardware requires balancing spatial limits against storage volume and structural capacities.
Fixed-height vs adjustable-height racks
Fixed racks mount at a single static drop distance, whereas adjustable drop systems let users set the platform anywhere from 12 to 45 inches below the ceiling, which helps clear low obstructions or high garage doors.
Platform sizes and wire-deck vs solid-platform systems
Smaller frames fit tight spaces, while 4×8 foot systems maximize capacity. Wire-deck grids offer high visibility from the floor, excellent airflow, easy cleaning, and secure bin seating compared to solid wood sheets that trap dust and block light.
Standard vs higher-capacity systems
Advertised weight ratings can be misleading. The critical rule is that the rack’s load rating is never the same thing as the load capacity of your garage ceiling.
Real Overhead Garage Storage Racks Worth Comparing
Comparing specifications across popular garage storage platforms helps clarify structural differences before making a purchase.
- NewAge Products VersaRac: Offers a 4×4 class or configurable footprint with a 600-pound rated capacity, constructed from a heavy steel frame and wire grid, making it well-suited for general household storage.
- NewAge Products VersaRac Pro: Features a full 4×8 foot footprint with an 800-pound capacity, adjustable drop heights, and reinforced heavy steel construction tailored for larger and heavier storage bins.
- SafeRacks Overhead System: Available in multiple sizes supporting up to 600 pounds, utilizing industrial steel and wire decking designed specifically for DIY-focused garage organization.
- FLEXIMOUNTS MAX: Delivers configurable 4×8 options ranging from 500 to 1,000 pounds of capacity using adjustable steel frames and heavy-duty wire mesh.
Note: Verify current specifications and load ratings directly from the manufacturer prior to purchase, as material configurations and hardware bundles change.
What Does a 600-Pound Rack Really Mean?
Seeing a 600-pound or 800-pound load rating printed on a product box gives many homeowners a false sense of security.
The actual weight limit of an installed overhead system is dictated by a chain of structural dependencies: the rack manufacturer’s rating linked to the mounting brackets, anchored into the ceiling framing lumber, fastened with specific lag screws, supporting an actual distributed load. The weakest link in this chain determines the safe working capacity.
Furthermore, ratings assume evenly distributed loads across the entire wire deck rather than concentrated weight piled onto a single corner. Racks must also support their own dead weight plus the total weight of storage bins. A rack rated for 600 pounds anchored into aging or compromised roof trusses will fail regardless of what the product specification label states.
Finding the Structure Above the Ceiling
Transitioning from planning to physical installation begins with locating the framing.
Homeowners must identify ceiling joists or structural trusses, confirm joist orientation (parallel or perpendicular to the garage door), determine standard spacing (typically 16 or 24 inches on center), and confirm that fasteners anchor securely into solid structural framing rather than weak drywall or non-load-bearing ceiling material. A standard magnetic or electronic stud finder is helpful, but physical verification using a small drill bit or visual inspection through an attic space is often necessary.
If a garage features engineered truss systems with complex web bracing, finished drywall ceilings with unknown framing layouts, or sagging structural elements, a professional assessment should be scheduled before proceeding.
The DIY Installation: What the Process Actually Implements
Successful execution requires proper tooling and methodical sequencing.
Gather the right tools
Installers need a tape measure, a bubble level, a variable-speed drill driver, heavy-duty socket wrench sets, structural drill bits, a stud finder, layout markers, a stable ladder, safety glasses, and a second person for overhead assembly. Fasteners must match the manufacturer’s engineering specs rather than being substituted with generic hardware store screws.
Mark the rack position
Transfer the template footprint onto the ceiling, cross-referencing joist locations and checking garage door travel paths before drilling any holes.
Attach the ceiling brackets
Align all primary mounting brackets directly over the center lines of the structural joists, pre-drilling pilot holes where specified to prevent wood splitting.
Assemble the vertical supports and frame
Bolt the vertical drop posts and perimeter steel channels together loosely, checking square alignment before tightening any primary bolts.
Install and level the platform
Position the wire decking panels, use a bubble level to ensure the entire platform sits plumb and level, and tighten every structural connection.
The Safety Checks That Should Happen Before Anything Goes on the Rack
Once the hardware is assembled, safety verifications are mandatory.
- Never anchor only to drywall; every load-bearing bracket must bite directly into solid wood or steel framing.
- Never exceed the manufacturer’s rated capacity under any circumstances.
- Distribute weight evenly across the wire deck to avoid dangerous point loads.
- Test garage door movement through multiple complete open-and-close cycles to ensure zero track or spring interference.
- Keep a clear working area below the rack during loading and never stand directly under a heavily loaded rack while organizing items.
- Use a second person to handle awkward steel components safely from ladders.
- Know when to stop if ceiling framing is uncertain or damaged.
What Should Actually Go on an Overhead Rack?
Maximizing utility means storing the right class of items overhead.
Good overhead candidates
Christmas trees, holiday decoration bins, empty luggage sets, camping tents, sleeping bags, seasonal sporting gear, folding chairs, tailgating coolers, and rarely accessed archive boxes.
Use caution with
Heavy power tools, dense book collections, commercial toolboxes, heavy automotive spare parts, and awkwardly shaped objects that could shift and fall.
Poor choices
Frequently needed tools, hazardous chemicals, flammable liquids, fragile glass items, and anything exceeding the rack’s weight rating.
The guiding principle is simple: Store bulky and infrequently used items overhead. Keep heavy or frequently used items closer to the floor.
How to Load an Overhead Rack Without Creating a Problem
Proper loading prevents shifting and structural strain. Utilize uniform, rigid storage bins with secure lids, label every container clearly on multiple sides, and distribute heavy bins toward the center of the rack above the strongest joist connections. Avoid stacking bins so high that they drift into the path of garage door tracks, ceiling lights, or fire suppression sprinklers.
DIY or Professional Installation?
Homeowners must weigh their technical comfort level against structural risks.
DIY installation makes sense when ceiling framing is fully exposed and understood, the manufacturer provides clear instructions, the homeowner owns appropriate heavy-duty tools, an assistant is available, and the ceiling height allows safe ladder work.
Professional installation is recommended when ceiling framing is uncertain, drywall is finished, the garage has complex vaulted or steel construction, clearances are tight, or multiple large racks are being installed across the workspace.
What a Professional Garage Storage Installer Should Actually Do
Hiring a legitimate installation service ensures the job meets building safety standards. Professional providers like Tampa Garage Solutions and Ace Handyman Services emphasize that a qualified crew will handle precise garage measurement, customized rack sizing recommendations, structural joist assessments, clearance evaluations, secure anchoring using rated hardware, leveling, final safety inspections, and site cleanup.
Homeowners should ask prospective installers key screening questions:
- Are you experienced with ceiling-mounted garage storage systems?
- Do you install the specific rack brand purchased?
- How do you locate and verify structural framing?
- Is hardware and labor included in the quoted price?
- What happens if ceiling framing requires reinforcement?
- Are you fully insured and do you provide a workmanship warranty?
What Professional Installation Can Cost in the US
Professional installation pricing varies based on market labor rates, ceiling height, garage layout complexity, and whether the installer supplies the hardware.
In most U.S. residential markets, standard installation labor for a single 4×8 overhead rack ranges between $240 and $340, while comprehensive multi-rack setups or complex ceiling structures can push total service costs higher. Total project pricing that includes both the hardware units and professional labor typically falls between _$350 and $1,200+_, depending on the number of racks and whether custom framing modifications are required.
When a Rack Isn’t the Right Storage Solution
Overhead racks are versatile, but they are not universal solutions. An overhead rack is inappropriate when ceiling height is too low to permit safe vehicle clearance, garage doors block mounting paths, framing is structurally compromised, or items require frequent daily access.
Alternative storage options include heavy-duty wall-mounted shelving, tall garage cabinets, modular slatwall systems, freestanding steel utility racks, or ceiling-mounted pulley hoists for lightweight items like bicycles and ladders.
A Practical Installation Checklist
Homeowners can use this step-by-step checklist to track progress throughout the project.
Before installation
- Measure ceiling height and total clearance.
- Measure available ceiling space relative to parked vehicles.
- Check garage door travel paths and opener rails.
- Locate and mark structural joists.
- Confirm rack dimensions and manufacturer load ratings.
- Gather required safety equipment and tools.
After installation
- Verify all lag bolts and bracket connections.
- Check frame alignment and squareness.
- Confirm platform level across all four corners.
- Test garage door and vehicle clearance thoroughly.
- Ensure all hardware is torqued securely.
- Load storage bins gradually, keeping weight evenly distributed.
Frequently Asked Questions
Can I install an overhead garage rack into drywall?
No. Drywall has zero structural load-bearing strength. Overhead racks must anchor directly into solid wood joists, trusses, or structural steel framing.
How much weight can an overhead garage storage rack hold?
Standard heavy-duty residential racks support between 500 and 800 pounds of evenly distributed weight, provided the underlying ceiling framing can support the load.
How do I know if my garage ceiling can support an overhead rack?
You must verify the size, spacing, and condition of your ceiling joists or trusses. If your garage has engineered roof trusses or uncertain framing, consult a professional structural installer.
How high should an overhead garage storage rack be?
The rack should hang high enough to clear the highest point of your parked vehicle’s roof, open rear hatches, and the full travel path of the moving garage door.
Will an overhead rack interfere with my garage door?
It can if measured incorrectly. Installers must account for door panels, tracks, extension springs, and the opener motor housing during the layout phase.
Are 4×8 overhead garage racks too large for a two-car garage?
Not typically. A standard two-car garage easily accommodates one or more 4×8 racks placed over parking hoods or along perimeter walls without reducing parking efficiency.
Can I install an overhead garage rack by myself?
It is strongly discouraged. Handling large steel frames overhead requires at least two people to ensure safe positioning and secure anchoring.
What should I store on an overhead garage rack?
Store bulky, lightweight, and seasonal items like holiday decorations, camping gear, suitcases, and folding chairs.
How much does professional overhead garage rack installation cost?
Professional installation labor typically ranges from _$240 to $340 per rack_, with total project costs varying by market and ceiling complexity.
Should I hire a garage storage installer?
Hiring a professional is recommended if your ceiling framing is complex, your garage has a finished drywall ceiling, or you lack the proper tools and assistance to work safely overhead.