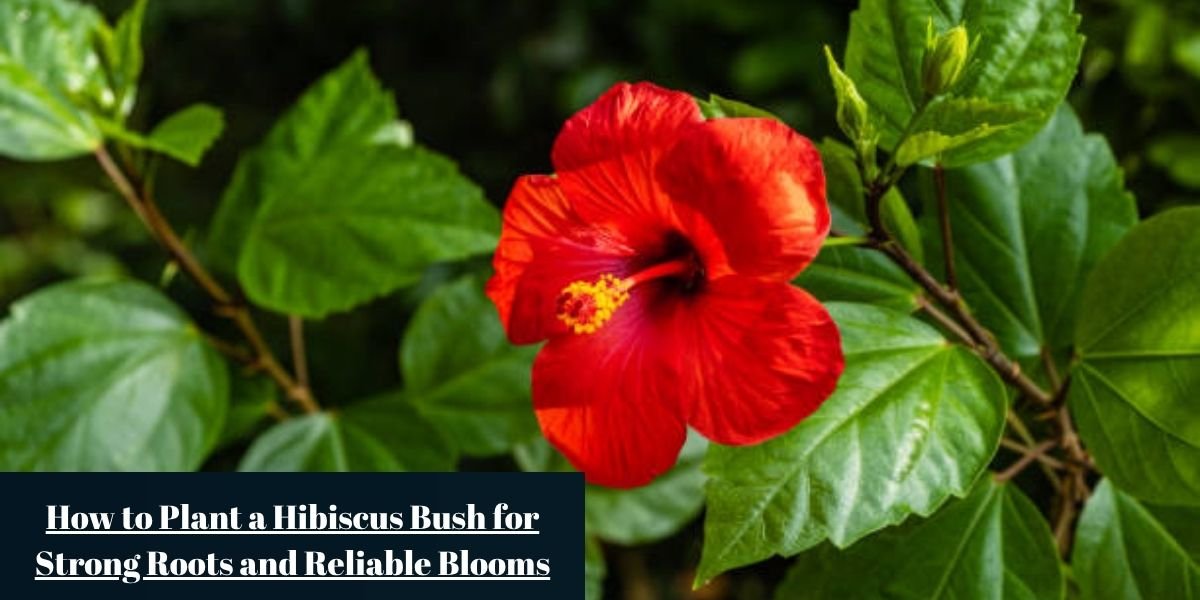
Getting a hibiscus bush established in your landscape requires an understanding of its specific botanical needs long before you head to the garden center. Successful cultivation begins at the nursery, where physical inspection dictates future performance.
Look for specimens with sturdy wood, deep green leaves, and active root tips emerging near drainage holes without being tightly bound. Avoid plants showing visible pest activity, yellowing lower foliage, or stems that feel soft near the soil line. Healthy nursery plants feature multiple lateral branches rather than a single leggy central stem.
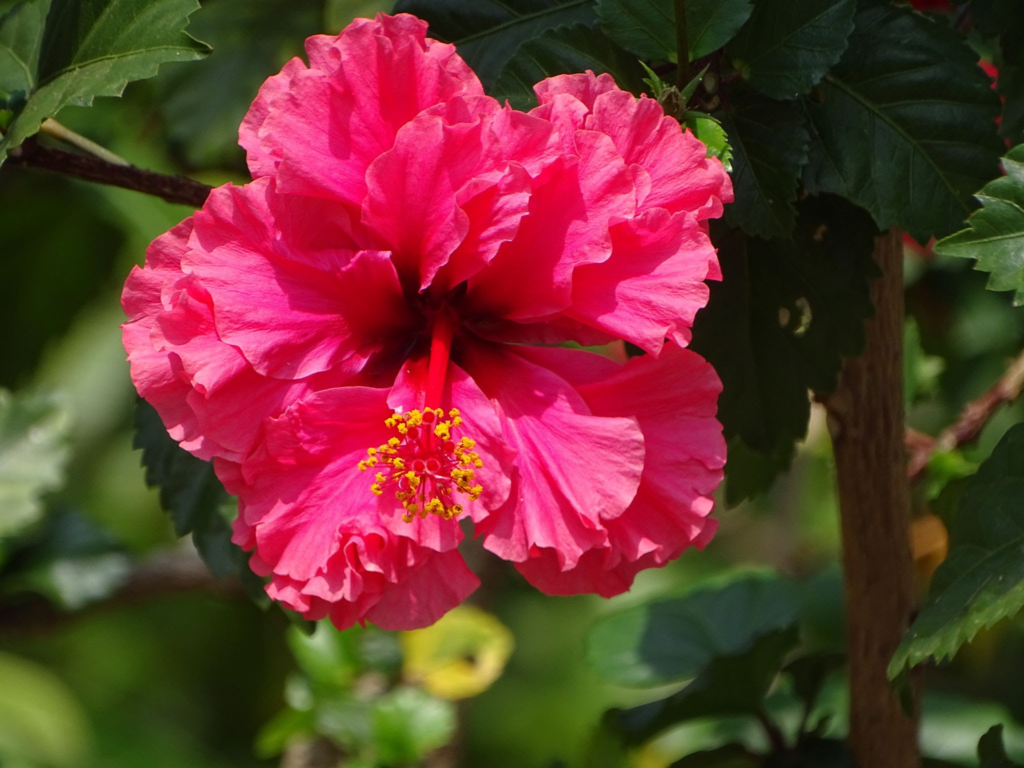
Discerning between species is essential before selecting your planting site. Hibiscus rosa-sinensis represents the classic tropical variation, thriving natively in warm climates and surviving outdoors year-round only in USDA Hardiness Zones 10 through 11. Tropical types feature glossy foliage and produce flower buds continuously throughout warm periods.
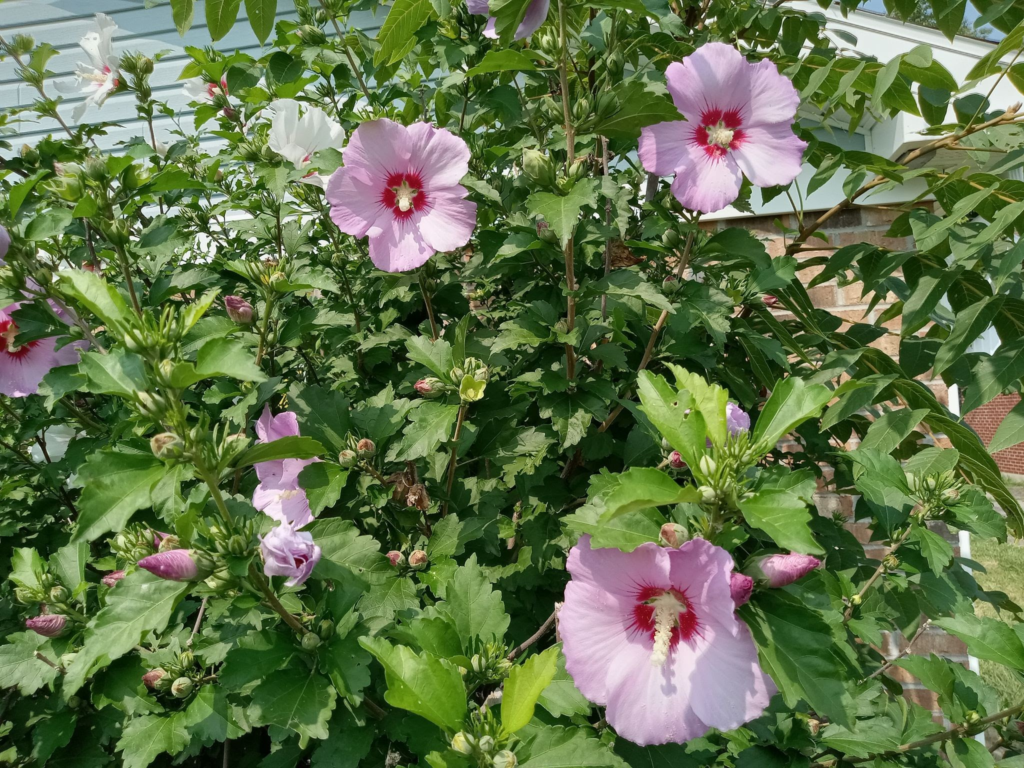
Hardy varieties include Hibiscus moscheutos perennial hibiscus and Hibiscus syriacus Rose of Sharon. Hardy hibiscus species withstand freeze-and-thaw cycles across USDA Zones 4 through 9, die back to ground level during late autumn, and re-emerge rapidly during late spring warming trends.
Timing the installation phase reduces environmental stress on young root systems. Plant hardy hibiscus in early spring after the last spring frost danger passes, allowing roots to anchor prior to summer heat. Tropical hibiscus bushes must be planted outdoors when night temperatures consistently remain above 60°F to prevent cold shock.
Pick the Right Spot
Site selection directly controls flower production, root vitality, and long-term shrub health. Placing a hibiscus bush in ideal conditions eliminates most culture-related issues before they begin.
- Sunlight requirements: Full sun exposure for 6 to 8 hours daily is mandatory for optimal flowering performance. Excess shade limits bud formation and stretches stems, creating leggy growth patterns susceptible to wind breakage.
- Airflow dynamics: Position plants where natural air movement occurs around the canopy. Adequate spacing allows foliage to dry rapidly after rain, mitigating leaf spot and fungal spores.
- Drainage management: Standing water starves roots of oxygen, leading to rapid decay. Select an elevated site or grade slope where excess moisture flows away freely.
- Spacing parameters: Leave 3 to 6 feet between plants depending on mature canopy dimensions. Overcrowded shrubs compete fiercely for soil nutrients and light.
- Proximity to structures: Keep plantings at least 3 feet away from building foundations, fencing, or overhangs to prevent root confinement and ensure balanced light distribution.
Prepare the Soil
Proper soil preparation establishes an active root environment. Soil texture dictates water retention, aeration levels, and microbial activity necessary for nutrient uptake.
Heavy clay soils hold excessive water around sensitive root systems, causing root suffocation. Amend heavy clay with equal parts organic compost and coarse builder sand to open pore space and encourage proper water runoff.
Purely sandy soils drain rapidly, leaching vital plant nutrients before feeder roots absorb them. Mix rich organic leaf mold, fully rotted manure, or mature compost into sandy sites to raise water holding metrics.
Maintain a slightly acidic to neutral soil pH between 6.0 and 6.8 for efficient nutrient availability. Alkaline soils above pH 7.2 induce iron chlorosis, causing foliage to turn pale yellow while leaf veins remain deep green. Apply elemental sulfur to lower pH levels gently over time.
Planting
Executing correct planting mechanics gives new shrubs immediate access to soil nutrients while protecting sensitive root crowns.
Preparing the Hole and Handling Roots
Dig a planting hole two to three times wider than the container root ball, maintaining a flat bottom to prevent sinking. Keep the excavated soil nearby for structural backfilling.
Gently invert the nursery container while supporting the primary stem at ground level. Slide the root ball out without pulling forcibly on main branches.
Examine the exposed root system for circling or girdling roots that threaten to strangle the plant as it matures. Make three to four vertical shallow cuts along the sides of the root ball using a sharp, sanitized knife to encourage outward root expansion.
Depth, Backfilling, and Initial Watering
Set the plant directly into the center of the hole. Ensure the top surface of the original root ball rests approximately 1 inch higher than the surrounding native grade line to allow for natural soil settling.
Fill the excavation void halfway using native soil enriched with 20% compost. Firm the soil lightly with your hands to eliminate large air pockets without packing it tight.
Flood the half-filled hole with water, letting it drain completely to settle the lower soil layers. Fill the remaining space with soil mix, gently tamping around the base to stabilize the shrub.
Construct a shallow 2-inch ridge of soil around the outer boundary of the planting hole to create a water retention basin. Apply 2 to 3 inches of shredded hardwood mulch inside the ring, keeping it 2 inches away from the bark to discourage fungal decay.
Planting in Containers
Growing hibiscus in pots offers flexibility for gardeners facing severe winter conditions or limited yard space. Portable containers let growers adjust sun exposure and bring tropical varieties indoors when temperatures drop.
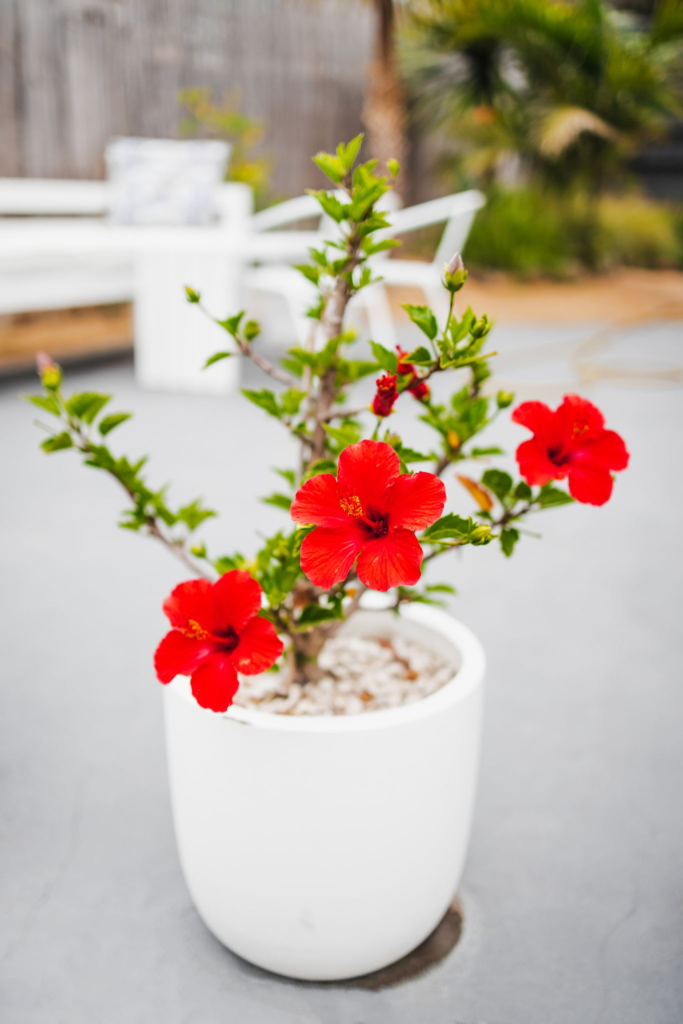
Select container vessels measuring at least 14 to 16 inches in diameter for young nursery stock, expanding to 20 inches or larger as the root system matures. Ensure the chosen pot includes several unobstructed bottom drainage holes to allow excess water to drain freely.
Avoid using raw garden soil inside containers, as ground soil compacts quickly, suffocating root systems and restricting water drainage. Use a premium, soil-less potting mix blended with perlite, peat moss, and pine bark for lightweight stability and water control.
Set the root ball inside the container so the root crown sits 1 inch below the rim of the pot. Pack potting mix around the perimeter, leave appropriate head space for watering, and saturate the pot until water flows freely out of the drainage holes.
The First Few Weeks
The initial month after installation dictates how fast a shrub transitions from transplant stress to active root development.
Check soil moisture daily during the first fortnight. Saturate the root zone whenever the top 1 inch of soil feels completely dry to the touch.
New roots expand outward searching for moisture and soil minerals. Refrain from applying high-nitrogen synthetic fertilizers during this delicate window to prevent burning young, tender root tips.
Look for fresh leaf buds emerging along upper branches as a signal of active root establishment. Mild stem lengthening and dark foliage indicate the shrub is adjusting well to its new site.
Watering
Watering requirements vary considerably depending on whether the hibiscus is planted directly in the ground or grown in a container.
In-ground plants require deep, periodic soakings that penetrate 8 to 12 inches deep, encouraging roots to grow downward into the soil profile. Shallow, light sprinklings result in weak root systems that dry out quickly during summer heat spikes. Deep soaking 2 to 3 times weekly works best during summer, while winter care only demands soaking every 10 to 14 days.
Container plants lose moisture rapidly through pot walls and drainage outlets under warm afternoon sun. Water potted specimens daily during summer growth, and scale back to once weekly during cool dormancy periods. Empty drainage saucers promptly to prevent standing water contact.
Scale back watering frequency significantly during cool autumn and winter months. Plants enter slow growth or complete dormancy during these periods, dropping their water consumption rates drastically.
Overwatered hibiscus bushes develop soft, yellow leaves that drop easily, along with sour-smelling soil. Underwatered plants exhibit drooping foliage, crisp brown leaf edges, and premature bud drop.
Feeding
Hibiscus bushes are heavy feeders that require a consistent nutrient supply to produce high numbers of large flowers.
Delay initial fertilizer applications on newly planted shrubs for 4 to 6 weeks post-installation to prevent root injury. Begin regular feeding schedules once active leaf growth appears.
Choose a balanced, slow-release fertilizer or a specialized formula carrying a ratio like 17-5-24. High-phosphorus options the middle number on fertilizer packages must be avoided, as excessive phosphorus locks up iron and micro-nutrients in soil, causing plant decline.
Spread granular slow-release fertilizers evenly across the drip line of in-ground shrubs every 6 to 8 weeks through spring and mid-summer. Stop all fertilization by late summer to discourage soft autumn growth that is easily damaged by early frosts.
Container-grown plants require water-soluble fertilizer applications every 10 to 14 days during peak growth. Frequent irrigation washes nutrients out through drainage holes, making regular liquid feeding necessary.
Pruning
Pruning controls shrub size, shapes the canopy, removes damaged wood, and stimulates new flowering growth across all hibiscus species.
Lightly trim young shrubs after planting to encourage lateral branching rather than single tall stems. Cut stems back by one-third to direct growth energy into lower latent buds.
Prune established tropical and hardy varieties in late winter or early spring just as dormant buds begin to swell. Make sharp 45-degree angle cuts roughly 1/4 inch above outward-facing nodes using clean bypass pruners.
Regularly remove dead, diseased, crossing, or damaged stems back to healthy green wood. Remove old, thick woody stems near the base every few years to open up the center of the bush to light and fresh air.
Common Problems
Diagnosing plant symptoms early allows gardeners to address structural and environmental issues before major damage occurs.
- Wilting foliage: Indicates dry soil, extreme heat stress, or damaged roots caused by standing water. Verify soil moisture levels manually before applying extra water.
- Yellow leaves: Often triggered by overwatering, cold night drafts, sudden environmental shifts, or nitrogen deficiencies. Inspect soil drainage and air conditions around the plant.
- Bud drop: Caused by irregular watering schedules, sudden temperature swings below 55°F, low light levels, or thrips feeding inside unopened buds.
- Root rot: A serious fungal condition stemming from poor soil drainage. Stems turn soft near ground level and roots turn dark brown or black.
- Poor flowering: Usually stems from insufficient direct sunlight, excessive nitrogen fertilizer application, or severe drought stress.
- Transplant shock: Symptoms include leaf shedding and stem wilting shortly after installation. Maintain consistent soil moisture and provide temporary shade during hot afternoons.
Seasonal Care
Adapting care practices throughout the changing seasons maintains shrub energy reserves and ensures reliable year-round health.
In spring, prune back dead wood, apply fresh organic mulch, and begin primary feeding schedules as soil temperatures climb above 55°F.
During summer peak growth, maintain rigorous deep watering habits, monitor leaf undersides for pests like spider mites, and remove spent blooms to keep the plant looking tidy.
In autumn, reduce watering intervals, stop synthetic nitrogen applications completely, and pile 4 inches of clean mulch over hardy root zones to prepare for freezing conditions.
Winter care depends entirely on species type. Allow hardy hibiscus to die back completely, cutting dead stems to ground level in late fall. Bring tropical containers indoors to a warm, bright room before outdoor temperatures fall below 50°F.
Growing Hibiscus in Pots Long Term
Maintaining potted hibiscus for several years requires periodic maintenance to prevent soil degradation and root binding within restricted container walls.
Repot container hibiscus every 2 to 3 years during early spring. Move up one container size roughly 2 inches larger in diameter to give expanding roots space to spread out.
Refresh tired potting mix during repotting cycles by gently teasing away the outer third of degraded potting soil. Fill voids with fresh, high-quality soil-less potting medium mixed with organic compost.
When potted shrubs reach the maximum manageable pot size for your space, perform root pruning instead of stepping up to a larger container. Slide the shrub out, trim 1 to 2 inches off the outer root mass using a sharp knife, and replant into the same pot using fresh soil mix.
Shift heavy containers onto wheeled rolling plant caddies before summer starts. Rolling caddies make it easy to move pots to sheltered locations during storms or shift plants indoors for winter protection.
Protect tropical potted plants during severe weather events by wheeling them against sunny south-facing walls or housing them inside greenhouses, garages, or indoor sunrooms until outdoor conditions improve.
After Planting
Understanding typical growth phases after planting helps set realistic expectations for root establishment and flower production.
Root systems focus energy on underground expansion during the initial 4 to 8 weeks after installation. Top stem growth may stall during this phase while feeder roots secure their hold in the surrounding soil.
Expect the first primary flush of new blooms once root networks firmly anchor into the soil, usually within 60 to 90 days post-installation.
During the first full year, the bush prioritizes structural stem development and leaf production over dense flower displays. Keep up consistent watering and light feeding to build a strong canopy foundation.
Long-term performance improves dramatically by the second growing season. Established root systems draw nutrients efficiently from deep soil layers, yielding dense foliage and reliable blooms through the summer.
Frequently Asked Questions
Can a hibiscus bush grow in a pot permanently?
Yes, both tropical and hardy varieties thrive long-term in containers provided you use appropriate pot sizes, fresh potting media, and perform routine root pruning every few years to prevent plants from becoming pot-bound.
What size container does a hibiscus need?
Start young nursery plants in containers measuring at least 14 to 16 inches in diameter. Mature bushes require pots measuring 20 inches or wider to accommodate extensive root mass growth.
Is potting mix better than garden soil?
Potting mix is far superior for container applications because it retains moisture while providing aeration and drainage. Native garden soil compacts inside pot walls, smothering roots and trapping excess water.
How often should a potted hibiscus be watered?
Water potted hibiscus daily during warm summer months, and potentially twice daily during extreme heat spells. Check the top inch of soil regularly and water whenever it feels dry to the touch.
When should a container-grown hibiscus be repotted?
Repot container plants every 2 to 3 years in early spring just as new growth begins. Indicators for repotting include roots escaping bottom drainage holes or water pooling on top of compacted soil.