
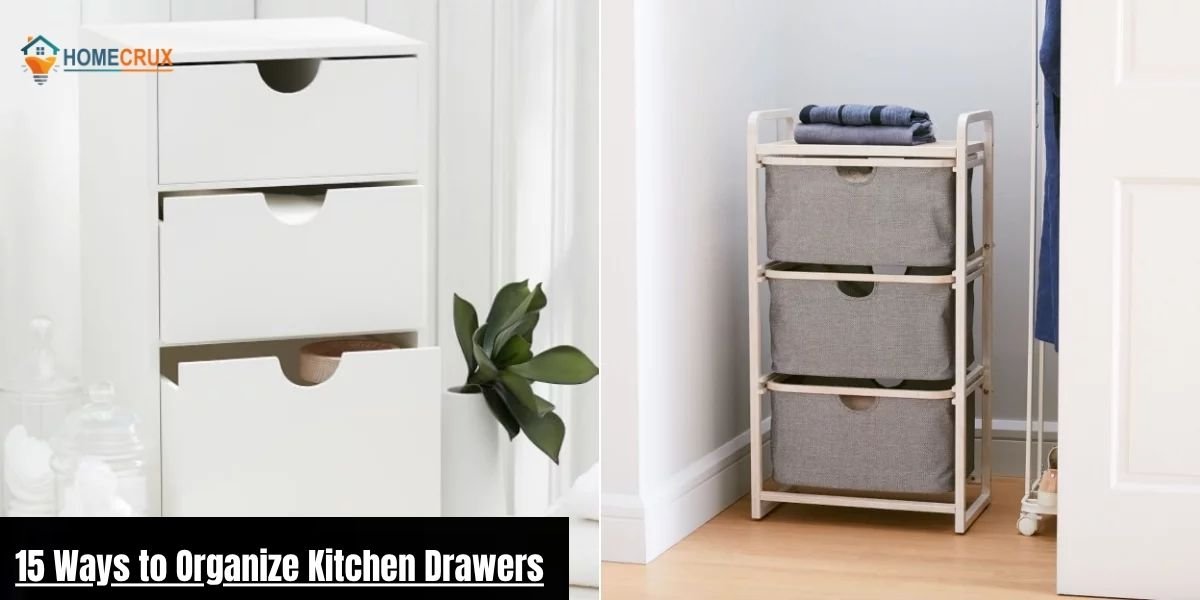
Kitchen drawers have a habit of becoming the ultimate catch-all space. Utensils get mixed, measuring spoons vanish under bulkier tools, and a deep drawer slowly turns into a chaotic pile of mismatched cookware. When every item gets shoved into the nearest open slot, cooking a simple weeknight dinner turns into a five-minute hunt for a spatula you know you own.
The real goal of organizing a kitchen drawer isn’t to make it look pretty for a photo. A truly functional drawer opens smoothly, lets you spot what you need in two seconds, and gets restocked quickly once the dishes are done. Having reorganized dozens of kitchens over the years, I’ve learned the same lesson every time: a sensible layout within your cabinetry removes the small daily friction that makes cooking feel like a chore rather than something you genuinely enjoy.
15 Ways to Organize Kitchen Drawers
1. Give Everything a Home
Before you buy a single tray or divider, decide what each drawer is actually for and clear out anything that doesn’t belong there. Pull every item out and look at it honestly. Does it work? Do you actually use it?
Get rid of the duplicate peelers, the whisk with a bent wire, the rusted measuring spoons, and anything that really belongs in a junk drawer or the garage. A drawer can’t function well when a fifth of what’s inside is things you never reach for on purpose. The general rule here is blunt: if you haven’t used an item in over a year, it’s not earning its spot.
Once you’ve trimmed the pile down to what you actually use, give every remaining tool a specific, non-negotiable spot. That single decision sets the foundation for the rest of your kitchen storage. When each object has its own home, putting things away becomes automatic instead of a daily guessing game.
2. Group Things by the Jobs You Do in the Kitchen
Sorting tools strictly by shape or material sounds tidy on paper, but it creates extra steps every time you cook. A far better system groups items by the specific task they are used for:
- Prep zone: Peelers, garlic presses, microplanes, and zesters all live together.
- Baking zone: Measuring spoons, silicone scrapers, liquid measuring cups, and pastry brushes are grouped together.
- Cooking zone: Heat-resistant spatulas, metal tongs, tasting spoons, and a meat thermometer stay grouped near the stove.
Once you start a specific dish, every core tool you need for that job should be within one single reach, not scattered across three separate drawers. This kind of functional grouping cuts down on back-and-forth movement and saves real time on busy weeknights.
3. Keep Everyday Utensils Within Easy Reach
How often you use a tool should dictate how close it sits to your main work surface. Reserve the prime drawer closest to your prep space for the handful of items you touch every single day.
Your main spatula, go-to silicone turner, favorite wooden spoon, and everyday locking tongs deserve the most accessible real estate in the kitchen. Specialty items like a turkey baster, candy thermometer, or cherry pitter can move toward the back, or better yet, into a lower drawer you only open once a month. Prioritizing by frequency of use, not by category alone, keeps your busiest drawer light and effortlessly scannable.
4. Give Your Cutlery Drawer Proper Compartments
Loose forks, knives, and spoons shift toward the back every single time the drawer slides shut. Loose silverware also rattles around loudly and can dull fine edges over time.
A standard cutlery tray works best when its slots actually match how much flatware you own. Make sure the main compartments hold your everyday set comfortably, without handles overlapping at odd angles that make grabbing one fork a two-handed job. Set aside a separate, dedicated section for serving spoons, butter knives, and salad servers so your daily place settings stay distinct from occasional-use pieces.
5. Put Long Utensils on a Diagonal
Most off-the-shelf drawer inserts aren’t built for longer tools. Bread knives, long silicone turners, ladle handles, and grilling tongs tend to jam up in a straight tray almost every time.
Turn those extra-long items on roughly a 45-degree angle across the drawer space instead of lining them up straight. This one quick adjustment frees up a noticeably more usable room. It’s a small change, but it lets you store longer tools easily without bending handles or squeezing the drawer shut with force.
6. Make a Deep Drawer Easier to Search
Deep drawers offer plenty of volume, but without a real plan for vertical space, they quickly become the spot where cookware disappears and stays buried for months.
Use adjustable dividers to stand items up on their edges instead of stacking them flat. Standing Dutch ovens, cast iron skillets, frying pans, and baking sheets vertically means you can see every single piece at a glance. You won’t need to lift three heavy pans just to reach the one sitting at the bottom.
Keep matching lids stored right next to their pots using low-profile tension rods or fitted side rails built into the drawer. Nothing wastes more cooking time than owning the right lid and not being able to find it.
7. Keep Knives Separate From the Rest
Tossing chef’s knives, paring knives, and serrated bread knives loose into a drawer damages the fine cutting edges and creates a very real safety risk for your hands.
Use an in-drawer knife block, a slotted wooden insert, or a magnetic sheath system built specifically for drawers. Keeping blades flat, covered, and anchored in place stops the edges from knocking against each other every time the drawer moves. Always point every knife handle toward the front so you can pull out any blade safely by its handle, never its edge.
8. Roll Kitchen Towels Instead of Stacking Them
Stacking dish towels flat inside a drawer creates a problem you notice the second you need one. Pull a towel from the middle or bottom, and the entire stack collapses into a wrinkled mess.
Instead, roll clean kitchen towels and microfiber cloths into tight cylinders and stand them on end, lined up side by side like files in a cabinet. This method exposes every single towel at once, so you can grab exactly what you need without disturbing the rest. It’s a classic professional organizer trick because it genuinely works, and it takes about thirty seconds to set up.
9. Keep Baking Tools Together
Baking depends on exact measurements and a handful of small tools that are easily lost inside a general utensil drawer. Gather these specialized tools into one dedicated space:
- Nested metal measuring cups and spoons
- Bowl scrapers and offset spatulas
- Pastry brushes and bench cutters
- Timers, cookie scoops, and rolling pin rings
Keeping baking equipment isolated means you aren’t digging through savory cooking tools mid-recipe with flour-covered hands. Anyone who bakes regularly knows how much this single habit saves in pure frustration.
10. Give Food Wraps and Bags Their Own Drawer
Boxes of aluminum foil, parchment paper, plastic wrap, and wax paper take up far more space than people expect, and they roll around loosely if you don’t contain them.
Set aside a shallow drawer close to your prep or clean-up station specifically for food storage wraps and sealable bags. Line the boxes up parallel to each other with the tear strips facing straight up so nothing gets crushed. Installing dispenser inserts with built-in slide cutters gets rid of the usual fight with tangled plastic wrap and torn paper edges. It’s a small upgrade, but it’s easily one of the most satisfying to use every day.
11. Use Dividers That Stay Where You Put Them
Basic plastic tray inserts tend to slide across a smooth drawer bottom every time you open or close it, causing your carefully sorted categories to spill into each other within a week.
Choose spring-loaded adjustable dividers or inserts fitted with high-friction rubber feet on the base. Anchoring your dividers firmly against the drawer walls keeps your categories intact through thousands of open-and-shut cycles, not just the first few days after you organize.
12. Store Small Items in Their Own Sections
Small kitchen odds and ends have a knack for migrating to the back corners of drawers and disappearing under bigger tools. Use small modular containers or micro-bins for distinct mini-categories like:
- Bag clips, twist ties, and rubber bands
- Corn cob holders and bottle stoppers
- Spare blender gaskets and food processor attachments
- Thermometer clips and small strainers
Giving these tiny items clear, hard boundaries keeps them from scattering across the whole drawer floor every time it opens.
13. Don’t Fill Every Inch of the Drawer
An overstuffed drawer creates physical friction you feel every time you open it. Aim to leave roughly 15 to 20 percent of the interior space completely open.
When a compartment is packed edge to edge, pulling out one tool forces you to lift or shove the surrounding items out of the way. A little breathing room lets your hand reach in, grab a handle, and lift the item straight out without catching on anything else. If a drawer requires force to close, take that as your immediate signal to remove a few tools rather than pushing harder.
14. Use the Drawer According to Your Routine
Don’t force your kitchen into a rigid layout copied from a magazine that doesn’t match how you actually cook. Build your storage entirely around your real, daily habits instead.
If your household makes fresh espresso or pour-over coffee every morning, keep coffee scoops, filters, and frothing tools in the top drawer directly under the coffee station. If stir-fry is a weekly staple in your kitchen, keep the wok spatula and spider strainer front and center near the range. Build the system around how you actually live in your space, not around an idealized layout that looks good on paper but never quite fits.
15. Keep the System Simple Enough to Maintain
Overly complicated storage systems with dozens of micro-categories tend to fall apart the moment real life gets busy. When putting something away takes too much thought, people start tossing items wherever there’s room, and the whole system unravels within a month.
Build simple, obvious zones that everyone in the household can recognize without asking. If a system takes more than a couple seconds of thought to put something back where it belongs, it’s too complicated. Simplify the categories until maintenance feels completely effortless.
A Simple Setup for Different Kitchen Drawers
Here is a practical, zone-based layout you can use as a starting template and adjust to fit your specific kitchen:
- Top Main Drawer: Daily cutlery, flatware sets, and serving forks.
- Prep Drawer: Chef’s knives, vegetable peelers, hand graters, microplanes, and core measuring tools.
- Cooking Drawer: Heat-resistant spatulas, locking tongs, wooden spoons, and a meat thermometer, positioned right next to the stovetop.
- Baking Drawer: Rolling pins, pastry brushes, cookie cutters, and measuring cups.
- Wrap & Storage Drawer: Foil, parchment rolls, sealable sandwich bags, and container lids.
- Deep Lower Drawer: Pots, pans, cast iron skillets, and baking sheets, all organized vertically.
This template isn’t a rigid rulebook. Swap zones around based on where your stove, sink, and prep counter actually sit, as physical workflow matters just as much as category.
When a Kitchen Drawer Still Feels Crowded
If a drawer still feels jammed even after you’ve reorganized it, check for these four common problem spots:
- Duplicate tools: Owning four identical spatulas or three potato peelers when two would easily cover every meal you cook.
- Oversized gadgets: Keeping bulky, single-use tools like a salad spinner, pineapple corer, or large mandoline in your primary drawer space instead of a high cabinet or the pantry.
- Overly bulky organizers: Using thick wood or heavy plastic dividers whose walls actually take up more usable room than the tools stored inside them.
- Misplaced inventory: Letting random junk drawer items like hardware, batteries, or old mail creep into an active cooking zone.
Clear out these problem areas first, and you will usually free up plenty of space without needing to buy a single new organizer.
Kitchen Drawer Organization Questions
What is the best way to organize kitchen drawers?
Start by clearing out anything you don’t actually use, then group what remains by how often you reach for it and the specific task it’s used for. Give every item a fixed home, and secure your compartments with non-slip, adjustable dividers so the layout holds up over time.
How do you organize deep kitchen drawers?
Organize deep drawers vertically using adjustable dividers or tension racks. Stand cookware, cutting boards, and lids up on their edge instead of stacking them flat, so everything stays fully visible and you can lift each piece straight out without digging.
How should kitchen utensils be arranged in drawers?
Arrange utensils by how often you use them, and by the job they do. Keep daily tools like spatulas and tongs in the drawer nearest the stove, angle longer tools diagonally to save space, and push occasional-use gadgets toward the back.
How do you keep kitchen drawers from getting messy?
Leave roughly 15 to 20 percent of each drawer open rather than packing it edge to edge, anchor your dividers so they can’t slide around, and keep your categories simple enough that everyone in the house can maintain them without thinking twice.