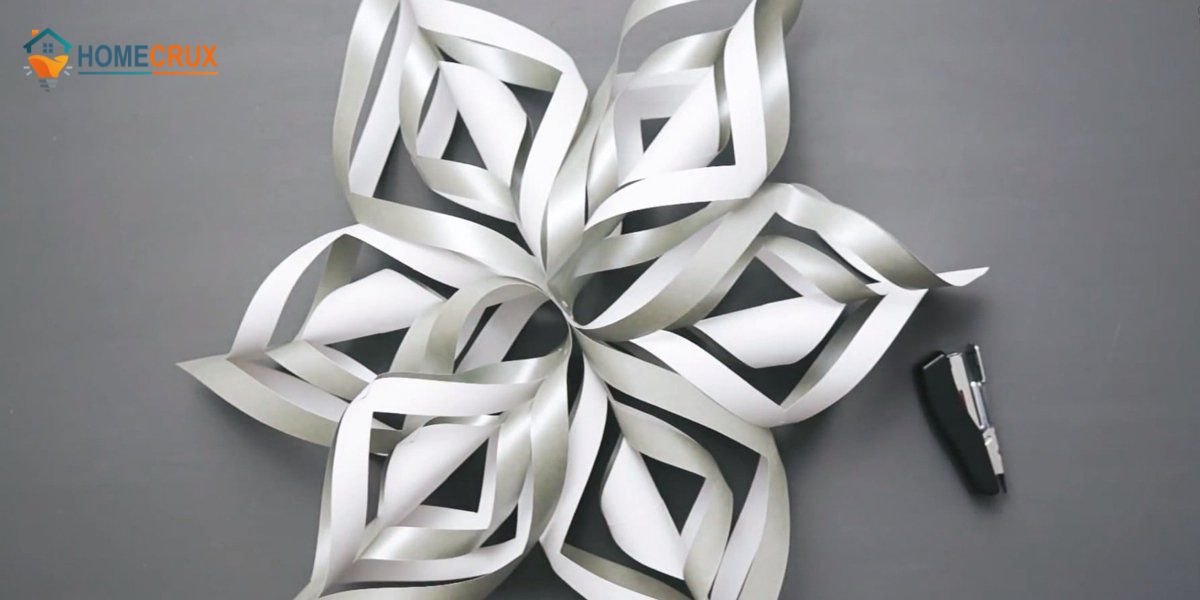
A single sheet of paper and a decent pair of scissors are all it takes to fold and cut a snowflake that looks like it came straight from a craft store. You do not need any special kits or expensive tools. The result comes down to two simple things: lining up your folds with precision and cutting away the right sections of paper.
Most people who end up with a torn center, crooked points, or a floppy snowflake run into the same handful of avoidable mistakes. This guide walks through the exact folding sequence, the paper stocks that yield the cleanest edges, how to preserve enough structure so your design holds together, and the proper way to open a finished flake without ruining your work. Once you master these fundamentals, you can easily produce crisp, six-point paper crystals for windows, classroom walls, or gift packaging.
Choose the Right Paper Before You Start
The weight and fiber structure of your paper control almost everything about your final design and how easily it comes together. Pick the wrong material, and you will end up with sore hands, ragged cuts, or a flake too limp to hold its shape.
- 20 lb Printer Paper (approx. 75 GSM): This is the absolute sweet spot for most project goals. It takes a sharp crease, stays put while folding, and retains enough structural strength to survive being opened back up. Keep in mind that once folded into six layers, you will still need a sharp pair of detail scissors to cut through cleanly.
- 24 lb Copy Paper (approx. 90 GSM): Step up to this weight when you want a sturdier flake for a large hanging display. It holds its form exceptionally well at larger scale. The downside is its added density, which requires noticeable hand strength to cut through once fully folded.
- Origami Paper (approx. 60-70 GSM): This is the ideal choice for fine, intricate work. It folds completely flat without creating a bulky spine. The colored front and white back variations also create striking visual contrast on the finished piece.
- Coffee Filters: The easiest starting point for young children. They are pre-rounded, eliminating the step of cutting a square first, and their soft texture yields easily to blunt safety scissors. Because they are too thin to hang unsupported, treat them as practice sheets or tape them flat against a window.
- Tissue Paper: Makes delicate, almost translucent lace, but it is extremely unforgiving. It tears instantly if your blades are dull or your hands carry any moisture, and it generally requires a backing sheet beneath it to stay aligned while cutting.
- Construction Paper: Avoid construction paper for six-point snowflakes. Its coarse pulp frays along every cut edge, and the sheer thickness of folded layers will strain your scissors and misalign your joints.
What You’ll Need for Paper Snowflake
You can keep things simple. A basic snowflake requires nothing more than paper and scissors, but a few supplementary tools make detailed work significantly easier:
- Paper selected from the recommendations above
- Sharp precision or detail scissors
- A standard pencil
- A craft knife for tight interior cutouts
- A self-healing cutting mat to protect your workspace
- A ruler for squaring up sheets and pressing creases flat
Turn Any Sheet Into a Perfect Square
Every symmetrical paper snowflake begins with a true square featuring four equal sides and four exact right angles. Standard 8.5 by 11 inch letter sheets and standard A4 sheets are rectangular, so you must trim them down first.
- Lay your paper flat on a work surface in a portrait orientation.
- Fold the top-right corner down and across until the top edge sits completely flush along the left side. You will see a neat triangle at the top and a single-layer strip of leftover paper at the bottom.
- Run your thumbnail firmly down the diagonal fold to set a sharp crease.
- Mark a straight line along the top of the exposed bottom strip using a ruler and pencil, then cut along that line.
Unfold the triangle to reveal a clean square sheet. Do not rush this preparation step. Because folding doubles your paper layers repeatedly, even a tiny 1 mm slip at this stage will create visibly lopsided points on your finished snowflake.
Fold the Paper the Right Way
Natural snow crystals almost always form with six-fold symmetry. When water freezes, its molecules naturally lock into a hexagonal lattice, meaning every arm of the crystal develops out of that identical underlying geometry.
The Vermont researcher Wilson Bentley was the first to document this consistency. Beginning in 1885, he photographed more than 5,000 individual snow crystals through a microscope, revealing that every single sample shared the same six-sided foundation. Decades later, Caltech physicist Kenneth Libbrecht, the world’s leading authority on snow-crystal morphology, classified natural crystals into a 35-type taxonomy, all anchored by that same hexagonal structure.
If you want your paper flake to look like a true snowflake rather than a circular paper doily, you must fold for six points instead of four. That requires folding your sheet into exact thirds, which is the step most people skip.
Step 1: Create the Primary Triangular Base
Lay your square sheet flat. Fold the bottom edge straight up to meet the top edge, forming a wide rectangle. Next, fold that rectangle in half from left to right, then unfold that second step immediately. You are not keeping that vertical fold; you only need the light center crease as a alignment guide for the steps that follow.
Step 2: Establish the Center Anchor Point
Position your rectangle so the long folded edge faces you at the bottom. Identify the exact middle point of that bottom edge. That mark is the center anchor of your snowflake, and every subsequent fold and cut will branch outward from it.
Step 3: Execute the Right Fractional Fold
Think of your flat rectangle as a 180-degree half-circle anchored on that bottom edge. You need to divide that arc into three equal 60-degree segments. Take the right side of the paper and pivot it up and across to the left, keeping your fold firmly anchored at the bottom center point, until the right section covers exactly one-third of the total width. Getting this third precise sets your six-point geometry, so evaluate the angle carefully or draw a light pencil guide first.
Step 4: Execute the Left Fractional Fold
Fold the left side across in the exact same manner, sweeping it over until its edge sits completely flush against the folded edge on the right. You should now hold a narrow wedge with two triangular tails extending past the top. Verify that your side edges meet with zero gap and zero overlap, as any misalignment will result in uneven arms later.
Step 5: Trim the Surplus Tails
Examine the top of your folded wedge where the uneven tails extend past the solid body of paper. Cut straight across the narrowest solid portion of the wedge to remove those overhangs in a single cut. What remains is a narrow triangle made of six identical layers. This is your working canvas.
Where to Cut for Specific Shapes
Once you understand how cuts map across the paper, shaping a snowflake becomes entirely predictable. Every notch you cut into the folded wedge repeats six times when opened. Where you place a cut on the wedge directly determines where that detail lands on the full design.
Edge Cuts
Cuts made into the long folded edges shape the overall silhouette of each arm. The deeper you cut toward the center alignment line, the narrower the supporting spine of that arm becomes. Deep cuts add visual drama, but they also reduce overall stability.
Center Point Cuts
The sharp bottom point of your folded wedge represents the exact center of the snowflake. Trimming a tiny straight section off this tip opens a small polygon right in the middle. Cutting a shallow curved path creates a smooth, rounded central window.
Corner Cuts
The top outer corners of the wedge become the tips of your six main arms. Sharp angled cuts produce classic star points, rounded cuts form soft petal shapes, and deep concave cuts yield narrow, icicle-like spikes.
Curved Cuts
Sweeping, smooth cuts balance out harsh geometric lines. Placing opposing curves along the outer side edges transforms rigid arms into organic shapes resembling leaves, feathers, or teardrops.
Triangle Cuts
Small triangular notches along the folded edges open up into sharp diamond cutouts. Spacing several of these closely together creates the appearance of a delicate lace border.
Diamond Cuts
Make two angled cuts that join at a point along the outer edge. Once unfolded, that single notch becomes a distinct six-pointed star nested within the structure of the arms.
Small Circles
Pinching tight half-circles or punching small holes along the folds creates isolated dots. This is an effective way to break up heavy, dense areas of solid paper without sacrificing structural integrity.
Thin Slits
Narrow cuts made parallel to the outer edge unfold into floating internal strands of paper. They add high levels of detail without removing large amounts of paper weight, allowing the overall structure to stay firm.
Open Your Snowflake Without Tearing It
The most frustrating moment in paper crafting is accidentally tearing an arm off a snowflake after spending ten minutes cutting out fine details. Take your time during this phase, as delicate paper webs easily catch on one another along fresh edges.
Unfolding Sequence
Slide your thumb beneath the outermost fold near the top and peel it back slowly. Always undo your folds in the exact reverse order of how you made them. If two cut edges lock together, do not pull. Gently separate them using the blunt end of a pencil or a bone folder before moving forward. Work your way inward toward the center until the sheet lies fully open.
Flattening Folds and Removing Creases
A newly opened snowflake will retain deep creases that prevent it from lying flat. Gently press it out using your fingertips, smoothing the paper from the center point outward to the tips of each arm.
- The Heavy Book Method: Sandwich your snowflake between two clean sheets of standard printer paper, place the stack inside a heavy book, and leave it weighted down for 2 to 4 hours.
- The Quick Iron Method: If you need immediate results, set a household iron to its lowest dry setting with the steam turned off completely. Place a sheet of protective parchment paper over your snowflake and glide the iron across the surface for 5 to 10 seconds. Keep the iron moving continuously to avoid scorching, and never allow the bare iron plate to touch your cut paper directly.
Easy Paper Snowflake Patterns to Try First
Mastering these five fundamental patterns will build your confidence before attempting complex cutouts. They serve as great practice pieces for understanding how wedge cuts translate onto the open paper.
Classic Star Pattern
This layout creates the traditional, sharp-rayed star shape. Cut the top of your wedge into a steep, sharp point. Make three deep V-shaped notches down the left side fold, then mirror them on the right side fold, staggering their vertical placement so they alternate rather than line up. Finish by removing a tiny triangular nick off the bottom tip.
Lace Pattern
Lace patterns rely on small, repetitive cutouts. Round off the top edge of your wedge, then make a vertical series of shallow triangles down both folded sides, keeping them spaced about 2 mm apart. Add a couple of thin, vertical slits parallel to the long edges. The secret to clean lace is keeping every cut uniform in size.
Rounded Snowflake Pattern
Swapping sharp angles for sweeping curves gives your snowflake an organic look. Trim the top of the paper into a scalloped dome, carve smooth half-circles along both sides, and cut long U-shapes reaching toward the center. Round off the bottom point to leave a soft, circular center opening.
Geometric Design
Stick to straight cuts and exact right angles for a modern, architectural structure. Cut the top of the wedge flat and square, notch small rectangular blocks along both side folds, and punch square holes down the main axis. Leave the bottom center point untouched so a solid hexagon anchors the design.
Large-Point Snowflake
Designed for high visibility from a distance, this pattern keeps structural elements thick and prominent. Cut the top edge at a sharp 60-degree angle, make one wide V-notch halfway down each side, and leave broad sections of untouched paper so the main arms remain bold and durable.
Make More Detailed Snowflake Designs
Once basic patterns feel easy, move on to detailed designs. These advanced styles require thinner paper, extremely sharp blades, and a patient hand.
Intricate Lace
High-detail lace demands tiny cuts packed tightly together. Work with thin origami paper to keep folded layers manageable. Cut narrow, triangular slits that reach nearly to the opposite fold line without crossing it. Be sure to leave at least a 1 mm bridge of solid paper between adjacent cuts so the surrounding framework stays intact.
Fern-Inspired Pattern
This style mimics natural plant fronds. Cut long, angled slits sweeping upward and outward from the primary center fold. Add small triangular nicks along the outer edge of each branch so they resemble tiny individual leaflets once open.
Scandinavian-Inspired Cuts
Nordic paper craft relies heavily on bold silhouettes paired with deliberate negative space. Cut sharp heart profiles, stylized tulip shapes, or running chains of small diamonds into the sides of your wedge. Keep the outer arm tips broad to frame the detailed cutouts within.
Layered Points
You can create a three-dimensional illusion on a completely flat sheet of paper. Cut a series of steep V-shapes into the top of your wedge, followed by a second matching set just below the first. Leave a thin connecting strip of paper at the base of each cutout so the nested points remain attached to the main structure.
Dense Crystal Pattern
This design provides the closest paper equivalent to complex real-world frost formations. Fill your folded wedge with a mix of small hexagons, thin diamonds, and fine slits. Space your cuts so that no remaining bridge of solid paper is wider than about 3 mm. While time-intensive, the final result is visually striking.
Mistakes That Ruin Paper Snowflakes
Most failed projects result from the same small set of errors. Learning to avoid them early will save you time and paper.
- Using Paper That Is Too Thick: Heavy cardstock shifts between scissor blades when folded into multiple layers. This causes cuts to land out of alignment across layers, resulting in jagged edges. Stick with 20 lb copy paper, origami sheets, or coffee filters.
- Misaligned Folds: Rushed folding leads to uneven layers, which translates directly into a lopsided, asymmetrical snowflake. Align every edge carefully before applying pressure, and set every fold with a hard edge like a ruler or bone folder.
- Cutting Off the Center Point: Severing the bottom point of your folded wedge removes the core structure holding your piece together. Doing this causes the snowflake to drop apart into disconnected strips of paper. Always keep at least 3 to 5 mm of uncut fold at the bottom tip.
- Making Cuts Too Large: Removing excessive paper leaves remaining bridges weak, causing the design to sag or tear under its own weight. Balance your cutouts against solid paper areas, keeping every internal support strand at least 2 mm wide.
- Working with Dull Scissors: Dull blades crush folded paper rather than slicing through it cleanly, leaving behind fuzzy, frayed edges. Invest in sharp, fine-point detail scissors, and reserve them exclusively for paper use to maintain their edge.
- Opening the Snowflake Too Quickly: Pulling a folded snowflake open too fast forces delicate paper bridges to catch and tear. Work slowly, using the tip of a pencil to gently release any stubborn corners that stick.
Tips for Cleaner Cuts and Better Symmetry
Adopting a few key habits makes a noticeable difference in the quality of your finished paper flakes:
- Cut Interior Details First: Carve out small interior holes, slits, and side notches before trimming the main outer edges. Keeping the outer frame intact gives you more paper to hold onto while working on fine details.
- Rotate the Paper, Not Your Wrist: Keep your scissor hand steady and feed the paper into the blades. Turning the folded wedge into a stationary blade provides far greater accuracy along tight curves and sharp corners.
- Preserve Frame Integrity: Leave solid, uncut sections running along both long folded edges. These strips serve as the structural skeleton holding your pattern together; losing them will cause the design to collapse.
- Use the Right Tool for the Job: Use a craft knife for tight, isolated interior shapes, and switch to detail scissors for long outer boundary cuts. Replace your craft knife blades the moment they begin to drag, as a dull blade requires excess force that leads to slips.
- Compress Your Folds: Flatten every crease using a hard edge such as a ruler, credit card, or bone folder. Compressed layers cut cleanly, whereas loose, puffy layers slip and bunch up under the blade.
- Follow the 50 Percent Rule: Stop removing paper once you have cut away roughly 40 to 50 percent of the folded wedge. Exceeding this limit trades structural stability for fine detail, leaving the open snowflake extremely prone to tearing during normal handling.
Fun Ways to Display Paper Snowflakes
Once your paper flakes are flattened and pressed, they are ready for display. Here are five practical methods for showing them off:
Window Displays
Attach your flakes directly to glass using tiny dots of removable double-sided tape or clear glue dots. Natural daylight passing through the cutouts emphasizes the negative space and intricate geometric details.
Classroom Walls and Ceilings
Thread clear monofilament fishing line through a top point on each snowflake and suspend them at varying lengths from a ceiling grid or bulletin board frame. Staggering the drop heights creates the visual effect of falling snow.
Christmas Tree Ornaments
Lightly coat the front of a flattened flake with spray adhesive and dust it with fine iridescent glitter. Loop a thin silver ribbon through one of the upper points, then hang it directly from a tree branch.
Gift Packaging
Wrap your gift box in plain brown kraft paper or a dark matte wrap. Secure a crisp white snowflake flat against the center of the box, then tie the package off with natural jute twine to highlight the white-on-dark contrast.
Hanging Garlands
String multiple snowflakes along a length of satin ribbon, maintaining a consistent 6 to 8 inch space between each piece. Apply a small drop of clear craft glue at the top point of each snowflake to hold it in place along the strand, then drape the finished garland along a mantel or banister.
Frequently Asked Questions
Why does my paper snowflake fall apart?
This almost always occurs because you cut all the way through both folded side edges at the same height, or you accidentally sliced off the bottom center point. Either mistake severs the structural paper bridges connecting the arms. To keep your snowflake intact, preserve solid, uncut sections along both side folds and leave the bottom center point undamaged.
What paper works best?
For everyday projects, standard 20 lb printer paper provides the ideal balance between structural strength and easy cutting. When making complex designs with fine details, switch to origami paper, which keeps folded layers thin enough to slice cleanly without straining your hands.
Can I use regular printer paper?
Yes. Standard 20 lb copy paper is an excellent material to start with. It holds sharp creases well and yields clean lines provided your scissors are sharp.
How many times should I fold the paper?
Fold your paper square in half once, and then fold that rectangle into exact thirds. This process builds a six-layer wedge that unfolds into a true six-pointed snowflake. Folding the paper beyond this point creates eight or twelve points, losing the natural six-sided structure found in real snow crystals.
Can kids make paper snowflakes?
Yes. Coffee filters and soft tissue paper are great options for younger children. Because coffee filters are already round, kids can skip trimming the paper into a square, and the soft material cuts easily with basic safety scissors.
Final Thoughts
Paper snowflakes offer a practical lesson in geometry that you can easily craft by hand. Simply altering the depth, angle, or spacing of a single cut takes the same basic fold in a completely new creative direction. This versatility is why no two paper snowflakes you make will look identical, echoing the exact structural diversity that Wilson Bentley observed in natural snow crystals over a century ago.
By mastering the core six-point fold, keeping your scissor blades sharp, and experimenting with different cutouts, you can build a wide variety of unique paper designs.